Our Construction Process
Classic Builders
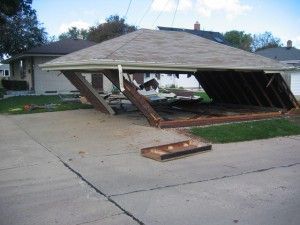
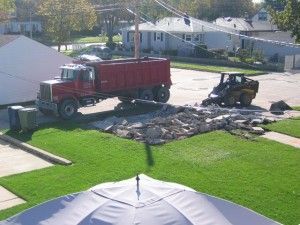
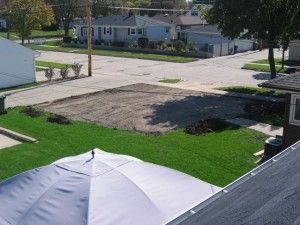
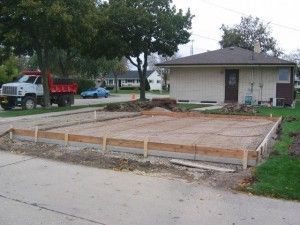
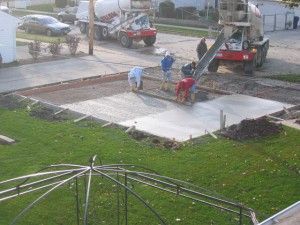
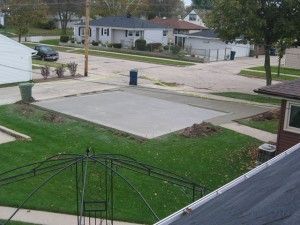
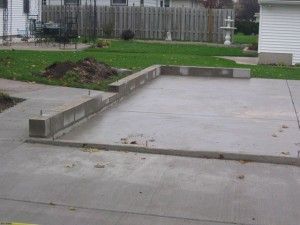
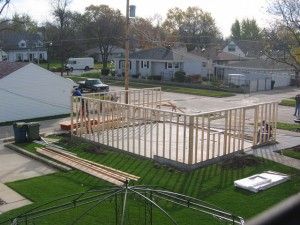
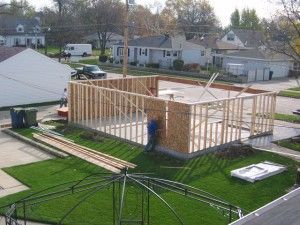
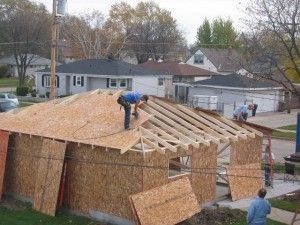
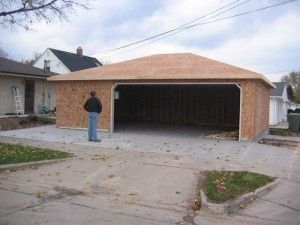
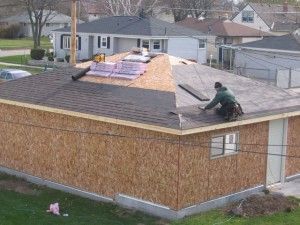
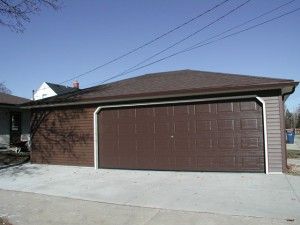
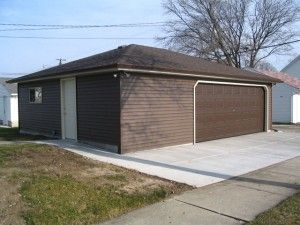
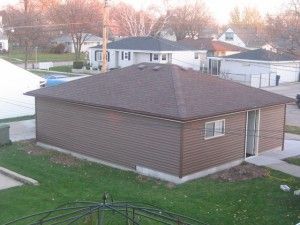
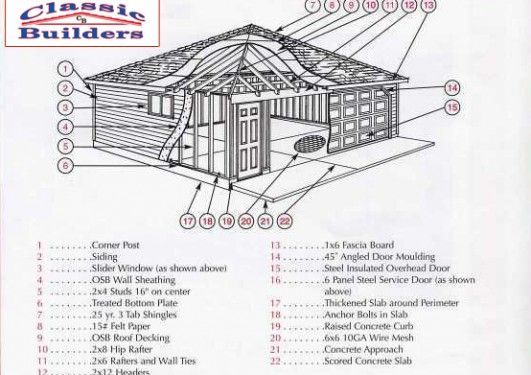
Explore Our Process to Building a 30′ x 24′ Detached Hip Garage
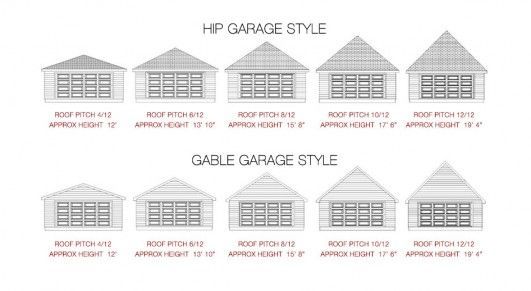
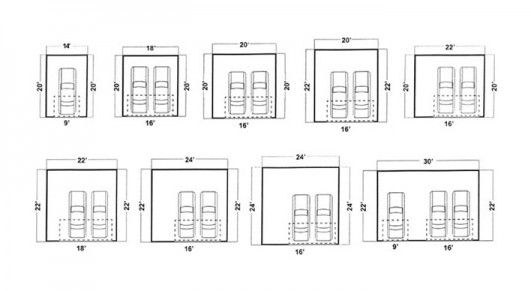
Classic Builders follows a precise, step-by-step process when constructing custom and commercial garages. Explore below for a detailed look at that process through images of a 30' x 24' detached hip garage we built. We've also included style and size diagrams for our garages, so you can get a clearer idea of the design you'd like for your property. Call Classic Builders today for a free estimate on all garage builds and concrete installations!

Share On: